Note: If you are new to the Stroke Panel, take a moment to review the basic concepts covered in Adobe InDesign: Stroke Primer before moving on to this tutorial.
A very useful, yet little known, option in the Stroke panel is the ability to add your own custom styles to the Stroke Type list. It’s a pretty easy process and we are going to start by adding one style that is conspicuously missing from the default list: a stroke with rounded end caps. Here’s how:
- Open the Stroke panel (Window > Stroke)
- Click the Stroke panel menu and choose Stroke Styles.
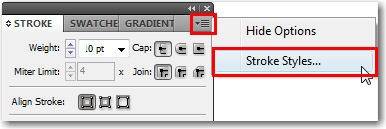
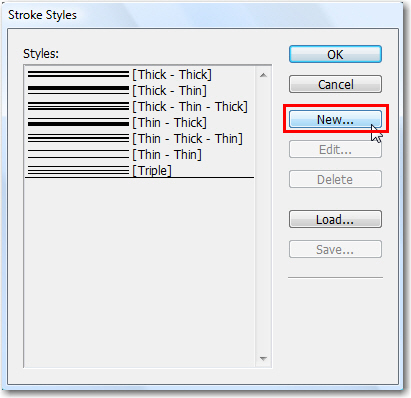
- Click the New button to add a new style.
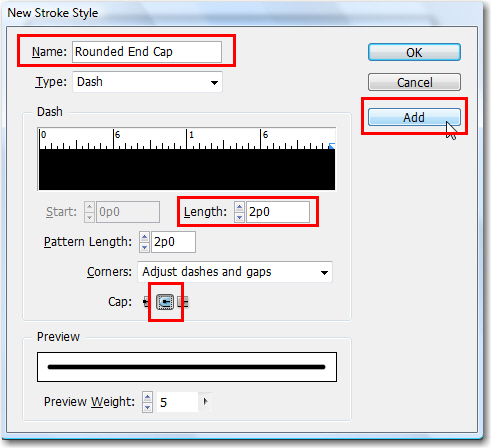
- Let’s call it “Rounded End Cap” and then set the stroke length to match the pattern length (in my example, it’s 2p0) and chose the rounded end Cap, before clicking both Add and Done, OK.
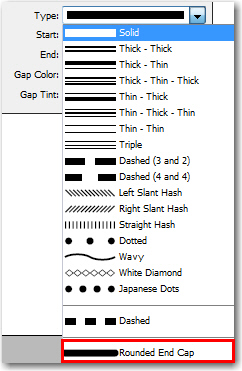
- Pull down the Stroke Type menu in the Stroke panel or the Control panel, and there’s your new stroke. It may not seem very exciting yet, but this new stoke is going to play pivotal role in both our custom underline and custom paragraph rules tutorial.
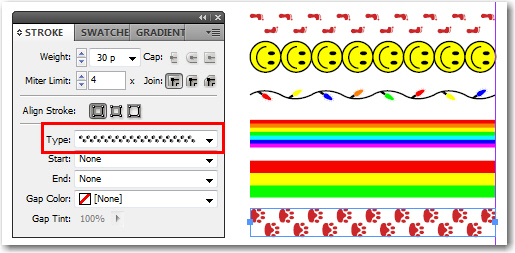
Before we wrap up, let’s add a few more stroke styles, just for fun. These last six styles are InDesign “Easter Eggs”. (Easter Eggs are undocumented features added to software programs by mischievous programmers.) While these may not be particularly practical, they are certain to put a smile on your face.
- Open the Stroke panel (Window > Stroke)
- Click the Stroke panel menu and choose Stroke Styles.
- Click the New button to add a new style.
- These first four require that you set the Type to Dash, and then type in the following four Stroke names, clicking the Add button after each one: Feet, Happy, Lights and Woof.
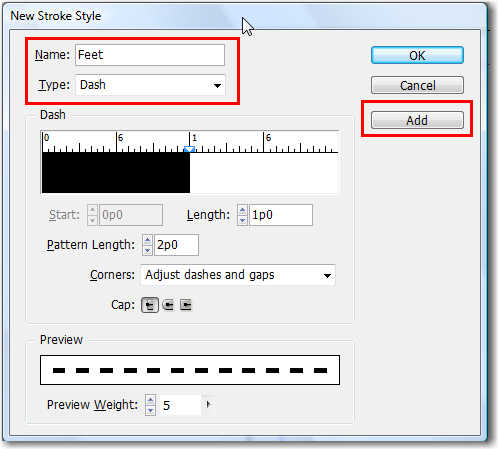
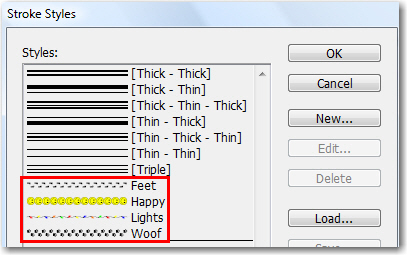
- Click Done to see the new Stroke styles:
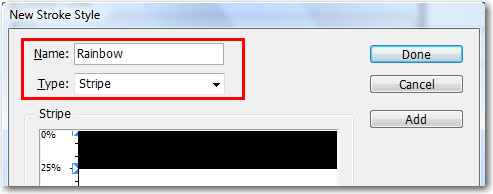
- Add two new additional styles by clicking on the New button again. These last two must be based on the Stripe style. Call one Rasta, and the other one Rainbow, clicking the Add button after each one.
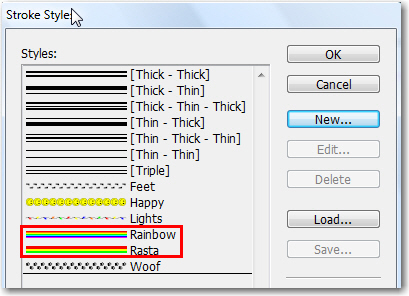
- Click the Done button to see the new styles:
- Now, go play!


No comments:
Post a Comment